Outdoor Water Leak at Your Home: What to Do Next
Found an outdoor water leak at your home? Learn the immediate steps to take, common causes, and when it’s time to call a professional plumber.
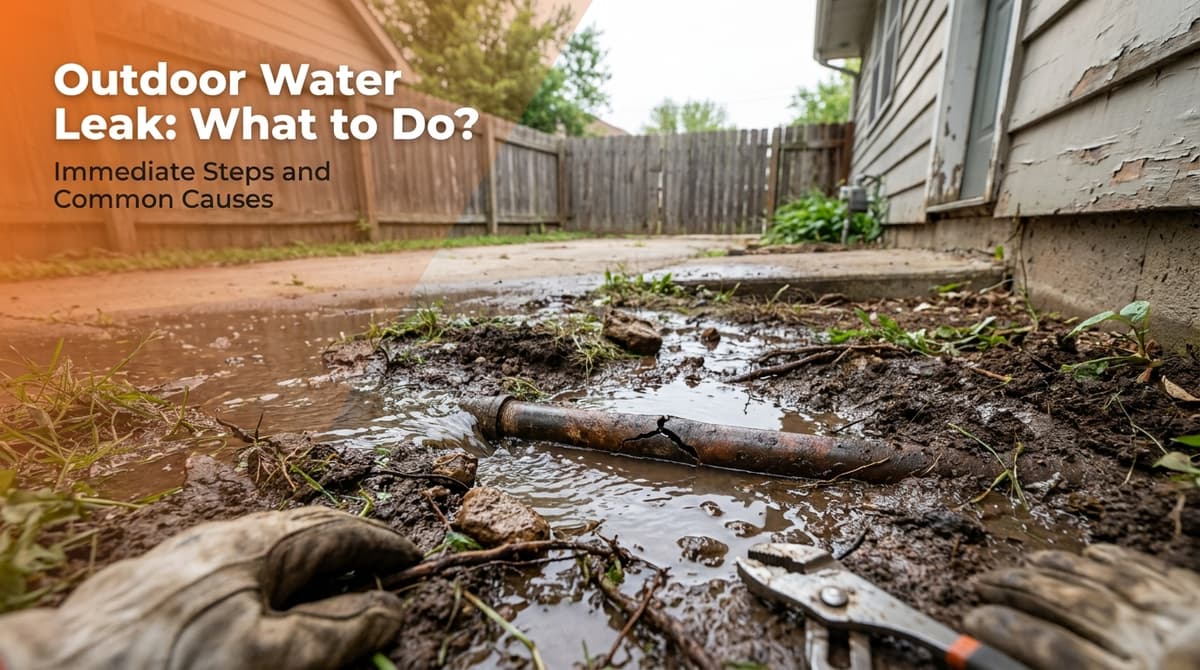
What To Do the Moment You Spot an Outdoor Water Leak
We recently got a call from a homeowner — let’s call her Melissa — who had just noticed water pooling along the side of her house. She wasn’t running any sprinklers, there hadn’t been any rain, and yet there was a steady wet spot on the stucco and a small stream running toward the yard. All she knew was, “I have a water leak on the outside of my house… what do I do now?”
Outdoor leaks can be sneaky. They don’t always gush like a broken pipe in a movie — sometimes they start as a damp patch, a soft spot in the soil, or a higher-than-usual water bill. In our climate, they also waste a lot of water very quickly and can cause surprising damage to foundations, stucco, and landscaping.
Here’s how we walked Melissa through the first steps, what usually causes exterior leaks, and how to know when it’s time to bring a plumber out right away.
Step 1: Stay Safe and Try to Find the Source
Your first job isn’t to fix the leak; it’s to stay safe and get a sense of what you’re dealing with.
When Melissa called, we asked her a few quick questions:
- Is the water near any electrical outlets, lights, or equipment?
- Is it coming from above (like a hose bib or pipe) or below (like the ground or a valve box)?
- Is any irrigation or hose currently running?
You can do the same quick check:
- Look for obvious sources first. Check garden hoses, hose bibs, drip irrigation, and sprinkler heads. A cracked hose or loose connection is the easiest fix.
- Check around walls and the foundation. Look for water stains, bubbling paint, or damp stucco/block.
- Open valve boxes if you have them. If you see a small “fountain” or constant bubbling, you may have an irrigation line or valve leak.
If you see water near electrical equipment or exposed wiring, keep your distance and avoid standing in pooled water. That’s a situation where you’ll want a professional on site as soon as possible.
Step 2: Turn Off Water Where You Can
With Melissa, once we knew the leak wasn’t tied to her sprinkler timer, we had her locate her main water shut-off. In many homes, it’s in one of these spots:
- At the front of the property near the sidewalk, in a ground-level box with a metal or plastic lid
- On a wall near the front hose bib or where the water line enters the home
- In the garage, sometimes near the water heater (less common here, but possible)
If the leak is significant or you see continuous water flow and can’t stop it at a local valve, do this:
- Turn off all running water inside (dishwasher, washing machine, showers).
- Use the main shut-off to stop water to the house. Turn the valve clockwise until it stops. Lever-style valves should be turned so they are perpendicular to the pipe.
- Watch the leak area for a few minutes. If the flow slows or stops, it’s likely a house-side issue. If it still runs strong, the leak could be on the city side or in irrigation supplied before the house shut-off.
For Melissa, shutting off the main significantly slowed the water, which told us the leak was on her side of the meter and something we could address.
Step 3: Use Your Water Meter to Confirm a Hidden Leak
Outdoor leaks aren’t always visible. A lot of homeowners call us because of a sudden jump in their water bill, with no obvious wet spots around the yard. In those cases, we walk them through a quick meter test over the phone.
Here’s how you can do the same:
- Make sure no water is being used anywhere in the house or yard (no toilets refilling, no ice maker running, etc.).
- Locate your water meter box (usually near the curb or sidewalk). Carefully lift the lid.
- Look for a small leak indicator — often a tiny red or triangle-shaped dial. If it’s spinning while all water is off, you likely have a leak.
If that dial moves even slowly, it can indicate a slow underground leak that won’t show up as standing water for quite a while.
Common Causes of Outdoor Water Leaks
Once we scheduled a visit for Melissa, we talked through what might be going on. Most of the time, outdoor leaks come down to a handful of common problems:
- Leaking hose bib (outdoor faucet) – Worn washers, loose packing nuts, or freeze damage can cause dripping at the handle or where the faucet meets the wall.
- Irrigation line leaks – Drip lines and sprinkler pipes can crack from age, UV exposure, roots, or someone digging in the yard.
- Main service line leaks – The pipe running from the meter to your home can develop pinhole leaks or larger breaks, especially in older or poorly installed lines.
- Leaking pressure regulator or valves – The pressure-reducing valve (PRV) and other shut-off valves can fail and start leaking at seams or fittings.
- Foundation or wall penetrations – Where pipes pass through walls or slabs, failed seals can let water leak and wick into building materials.
In Melissa’s case, the culprit was a small but steady leak at a buried connection between her main line and a branch line feeding her front hose bib. It didn’t look like much on the surface, but it was wasting a lot of water.
When You Can DIY vs. When to Call a Plumber
Homeowners often ask us on the phone, “Is this something I can fix myself?” The answer depends on where the leak is and how comfortable you are with basic plumbing and digging.
Usually DIY-Friendly
- Leaky garden hose or nozzle – Replace washers, swap the hose, or change the spray head.
- Dripping hose bib at the handle – Sometimes a gentle turn on the packing nut or replacing the stem washer can help (turn the water off to that faucet first).
- Obvious sprinkler head leaks – Replace broken heads, tighten fittings, or cap off unused lines.
Call a Plumber Right Away If:
- The leak continues even with the main water shut off.
- You see water seeping from the base of an exterior wall or along the foundation.
- There’s hissing or running water noise but no visible source.
- The leak is in or near the main line between the meter and the house.
- You’re uncomfortable digging, cutting, and repairing pressurized water lines.
Outdoor plumbing repairs often require specific materials, proper depth and bedding for pipes, and solid connections to avoid future failures. A quick patch might work for a day but fail again once full pressure comes back on.
Preventing Future Outdoor Leaks
After we repaired Melissa’s line, we spent a few minutes going over some simple prevention tips she could use going forward:
- Walk your property every month or so and look for unusually green patches, sunken spots, or persistent damp areas.
- Check your hose bibs for drips and make sure they shut off fully.
- Keep an eye on your water bill — unexplained increases often point to hidden leaks.
- Avoid deep digging in areas where water lines are likely buried, or have utilities located before major projects.
If you ever find yourself in the same situation as Melissa — staring at an unexpected puddle outside and wondering what to do — start with safety, shut off what you can, and then don’t hesitate to call in help. The sooner an outdoor leak is tracked down and repaired, the less damage and water waste you’ll have to deal with.